Making your own cheese at home can be a rewarding and delicious endeavor that enhances your culinary skills. With just a few key ingredients and pieces of equipment, you can craft a variety of cheeses right in your kitchen.
This guide will walk you through the basics, from selecting the right milk to understanding the fermentation process, empowering you to create unique cheese flavors that reflect your personal taste.
Are you ready to initiate on this flavorful journey?
Let’s investigate the art of home cheese making!
The Culinary Art Behind Cheese Creation
Myths and Misconceptions about Cheese Making
Many believe that cheese making is an overly complicated process requiring special equipment or advanced culinary skills.
In reality, with just a few basic tools and ingredients, you can craft delicious cheese at home.
Common myths, like the notion that cheese must age for years to be flavorful, also deter novices.
However, most fresh cheeses can be enjoyed within days, allowing you to delight in your creations sooner.
The Cultural Significance of Cheese Throughout History
Cheese has woven itself into the fabric of human history, serving not only as a vital source of nourishment but also as a symbol of tradition and community.
Ancient civilizations, including the Egyptians and Romans, valued cheese for its nutritional benefits and economic potential, incorporating it into their culinary repertoires.
Its evolution reflects agricultural practices and regional flavors, with each culture adding its own twist, thus enhancing the global diversity of cheese varieties we cherish today.
Consider the role of cheese in Mediterranean diets, where it serves as a staple in gatherings and celebrations, as well as its representation in art and literature throughout centuries.
In the Middle Ages, monasteries were known for their cheese production, supporting local economies through trade, while also keeping recipes alive.
Today, artisanal cheese makers continue this legacy, blending time-honored techniques with innovative approaches, ensuring that cheese remains not only a nourishment but also a cultural artifact steeped in history.
Essential Ingredients and Equipment for Beginners
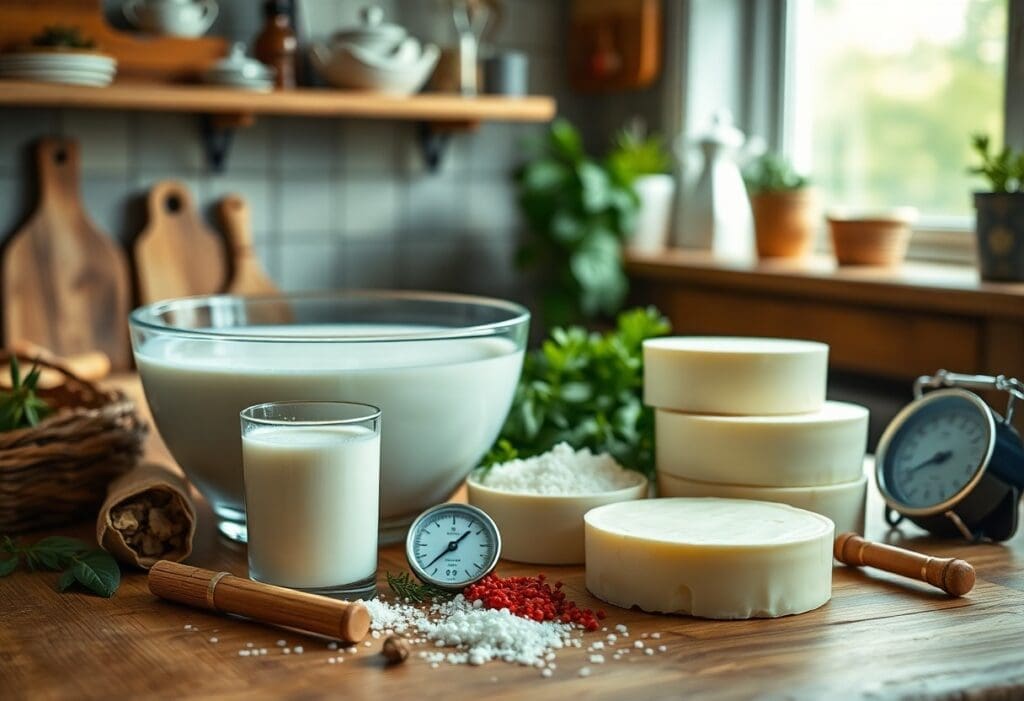
Dairy Choices: Milk Varieties and Their Impact
The type of milk you choose significantly impacts the flavor and texture of your cheese.
I highly recommend whole milk for its rich fat content, which aids in creaminess, while low-fat alternatives can produce drier cheeses.
Raw milk, if accessible, offers vibrant flavors and natural enzymes beneficial for fermentation.
Goat’s and sheep’s milk have distinct tartness and are ideal for varieties like feta and ricotta.
Experimenting with different dairy sources can lead to unique cheese experiences tailored to your taste.
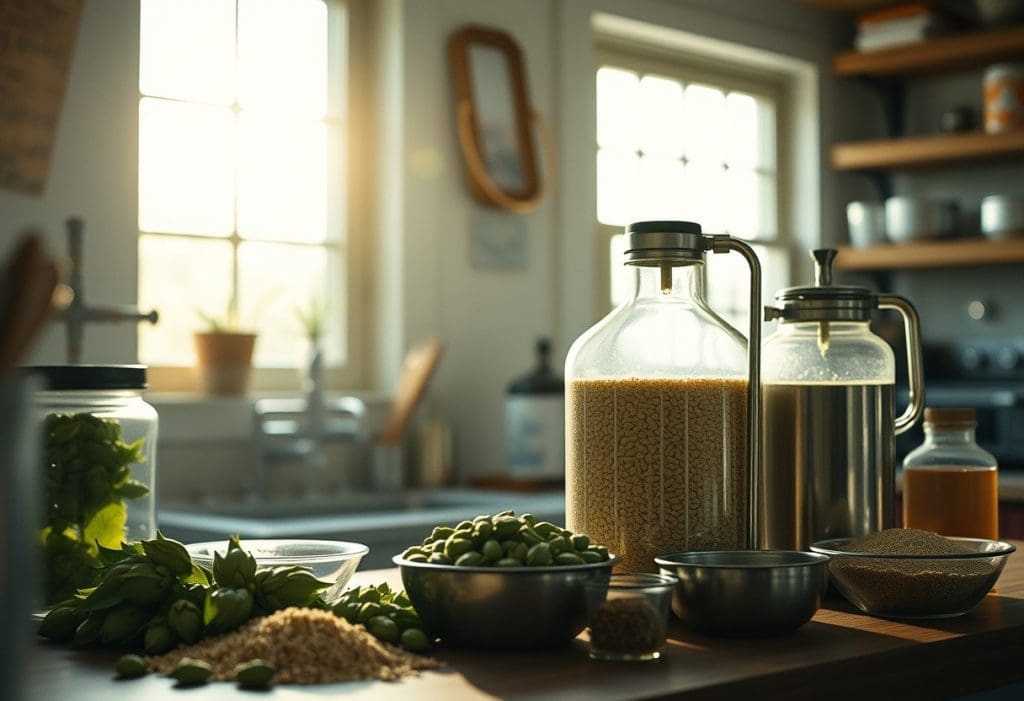
The Equipment You’ll Need: From Thermometers to Cheese Molds
A good set of tools is the basis for successful cheese making at home.
Start with basic equipment including a reliable thermometer, a large stainless-steel pot, and a slotted spoon. These simple items will set you up for success.
Cheese molds come in various shapes and sizes, enabling you to create your desired cheese form, while curd knives help you cut the curds evenly.
A pH meter can also aid in monitoring acidity levels, ensuring optimal flavor and texture development.
In addition to those essentials, consider investing in a cheese mat for draining and aging your cheeses, and a fine mesh strainer or cheesecloth for separating curds from whey.
A dual-purpose thermometer allows you to monitor temperature accurately, crucial for curdling the milk efficiently.
With these tools at your disposal, you’ll find the cheese-making process much more manageable and enjoyable, leaving you free to focus on perfecting your cheese recipes.
The Science of Souring: Understanding Cultures and Coagulation
Exploring Bacterial Cultures: How They Affect Flavor
Bacterial cultures play a significant role in cheese-making, influencing both the texture and flavor profile of the final product.
By introducing specific bacterial strains, you can achieve a variety of tastes—from tangy and sharp to rich and creamy.
For example, Lactobacillus species contribute to a sour flavor in cheeses like feta, while others, such as Streptococcus thermophilus, are necessary for producing the pleasant acidity in mozzarella.
The combination of different cultures on top of the fermentation time can open up a world of flavor complexities in your homemade cheeses.
The Role of Rennet: What It Does and How to Use It
Rennet is an ingredient that aids in the coagulation of milk, turning it from liquid into solid curds.
This enzyme complex works by curdling the milk proteins, primarily casein, leading to the formation of curds.
When using rennet, precise measurements are vital; typically, 1/4 teaspoon of liquid rennet can curdle a gallon of milk.
Your choice of rennet, whether animal-based or vegetarian, will influence the texture and flavor of your cheese as well.
By using rennet correctly, you will ensure a more manageable curd formation, allowing you to glean the best results from your cheese-making endeavor.
The action of rennet begins shortly after it is added to your milk mixture.
Within minutes, you’ll notice the milk thickening as the rennet enzymatically breaks down the proteins.
As the curd forms, you’ll want to monitor the texture. It should feel soft and elastic, similar to that of gelatin.
If the curd becomes too firm, it can affect the moisture content of the final product.
Ultimately, a successful curd formation underlays the entire cheese-making process, setting the stage for further steps like cutting, stirring, and aging your cheese.
Step-by-Step Guide to Your First Cheese
| 1. Gather Your Ingredients and Equipment | Milk, citric acid or vinegar, salt, a thermometer, and a cheesecloth are crucial for making your first cheese. |
| 2. Prepare the Milk | Heat your milk slowly to the desired temperature, typically around 190°F for fresh cheeses. |
| 3. Add Coagulating Agent | Add citric acid or vinegar to encourage curd formation. Stir gently until curds and whey separate. |
| 4. Drain the Curds | Using your cheesecloth, drain the curds from the whey carefully, squeezing out excess liquid. |
| 5. Salt and Shape | Mix in salt to taste, then shape the curds into your desired form, pressing firmly. |
| 6. Age if Desired | Depending on the cheese type you can age it in a controlled environment to enhance flavor. |
Simple Recipes to Start: Paneer and Ricotta
Start your cheese-making journey with easy recipes like Paneer and Ricotta.
For Paneer, simply heat milk, add lemon juice, then strain to form a soft cheese.
Ricotta follows a similar method, using leftover whey or whole milk curds, resulting in a creamy texture that’s perfect for lasagna or desserts.
Troubleshooting Common Problems at Every Stage
Occasionally, your cheese-making might not go as planned.
Common issues include an incorrect temperature resulting in poor curd formation or overly salty curds due to miscalculated salt ratios.
Regularly checking your thermometer and practice with the ingredients can save your batch.
Often problems can arise during the cheese-making process, which may lead to unexpected results.
If curds are not forming, ensure your milk hasn’t been pasteurized too much, as ultra-pasteurized milk can inhibit curd development.
On the other hand, if the curds are too tough, you might have heated the milk too high or stirred it too aggressively. Each mistake offers a lesson, improving your skills the next time around.
Regular adjustments will help you master the art of cheese-making.
Mastering Fermentation: Techniques for Unique Flavors
Aging Cheese: The Transformation Process
Aging cheese unfolds a captivating transformation, allowing flavors to deepen and develop complexity.
During this time, moisture evaporates, and enzymes break down fats and proteins, contributing to distinct textures and profiles.
As you age your cheese, experiment with varying conditions, such as temperature and humidity, to discover how these factors influence the final product.
Your homemade cheese can evolve from mild to robust in just a few weeks to months, depending on your choices.
Flavored Cheeses: Incorporating Herbs, Spices, and Additives
Your cheese doesn’t have to be a blank canvas.
By infusing your curds with herbs, spices, or other additives, you can create a delightful range of flavored cheeses.
The key is to be experimental, with options ranging from classic additions like garlic and rosemary to adventurous choices like truffle oil or even hot peppers.
Each ingredient brings a unique note to the cheese, allowing you to personalize flavors uniquely suited to your palate.
Consider pairing flavors that complement the cheese base you’ve chosen.
Soft cheeses like ricotta can mingle beautifully with fresh herbs, while harder cheeses like cheddar might benefit from smoky spices or even fruit essences.
A successful flavored cheese can elevate any cheese platter, and you can make it distinctly yours with thoughtful combinations.
As you explore this creative avenue, jot down your proportions and ingredients to replicate your favorites for friends and family to enjoy!
Navigating Food Safety and Storage Best Practices
Identifying and Preventing Contamination Risks
Contamination can derail your cheese-making efforts, so watch for potential risks like unsterilized equipment, foreign bacteria, and improper handling.
Ensure cleanliness by thoroughly washing utensils, countertops, and hands before starting.
I recommend pasteurized milk for beginners — it reduces the risk of unwanted microorganisms.
Always inspect your ingredients for freshness and avoid using any that show signs of spoilage.
Proper Techniques for Cheese Storage and Shelf Life
Storing cheese correctly extends its freshness and flavor.
After making your cheese, allow it to cool before wrapping it tightly in cheesecloth or wax paper. For hard cheeses, vacuum sealing can be particularly effective.
Keep your cheese in a cool, consistent temperature, ideally between 34°F to 38°F. Regularly check for moisture buildup or mold, as these can spoil your creation.
The ideal environment for cheese storage varies by type. Hard cheeses, such as cheddar or Parmesan, can last several months when wrapped properly, while softer cheeses like mozzarella are best consumed within a week or two.
Consider placing a small container of salt or charcoal in your storage space to help maintain appropriate humidity levels. This will prevent excess moisture and enhance shelf life.
Label your cheese with the date of production to track freshness easily, allowing you to enjoy each batch at its best.
Crafting Your Own Cheese-making Routine
Setting Realistic Goals based on Your Lifestyle
You’ll want to establish cheese-making goals that harmonize with your daily schedule.
Consider how often you can dedicate time to this craft amidst work, family responsibilities, and other commitments.
If your weekdays are packed, you might aim for a weekend session to experiment with simple cheeses.
Adjust your expectations, understanding that starting small (perhaps with a batch of ricotta or cream cheese) can help you build skills without feeling overwhelmed.
Creating a Budget: Analyzing Operating Costs vs. Benefits
Establish a budget so you can ensure sustainable cheese-making.
Take the time to calculate initial investment costs for ingredients and equipment, while also considering the ongoing expenses like milk and any necessary additives.
Weigh these costs against the benefits of creating your own cheese, such as saving money in the long run and enjoying high-quality, homemade products that elevate your culinary experience.
To create a comprehensive budget, tally the upfront costs, which may include a thermometer, cheese molds, and rennet, often totaling around $50-100 depending on your choices.
Next, factor in the recurring monthly expenses for milk, salt, and any specialty items.
A recognizable cost-effective approach would be to buy milk in bulk.
While the initial investment might seem high, consider the savings: artisan cheeses can retail for $15 or more per pound.
By making your own, the cost drops significantly, enhancing both financial sense and personal satisfaction.
Communities of Cheese Lovers: Learning from Others
Joining Local Cheese Making Classes and Workshops
Finding a local cheese-making class or workshop can significantly enhance your skills and connect you with fellow enthusiasts.
Many community centers, culinary schools, and artisanal cheese shops offer hands-on courses where you can learn various techniques, explore unique recipes, and gain access to expert instructors.
By participating in these sessions, you’ll not only refine your craft but also build a network of cheese-making friends who share your passion.
Online Resources: Forums, Blogs, and Social Media Groups
The world of cheese making is also thriving online, where you can find countless forums, blogs, and social media groups dedicated to this delightful craft.
These communities offer tools, tips, and inspiration from fellow makers around the globe.
Platforms like Facebook and Reddit boast groups where you can ask for advice, share your experiences, and even trade techniques.
By diving into online resources, you’ll open up a treasure trove of information and camaraderie.
Explore dedicated cheese-making blogs where artisans share their secrets, success stories, and challenges.
On forums, you can ask specific questions and receive tailored answers from seasoned cheese makers. +
Social media groups enable you to share photos of your creations, get feedback, and discover new recipes and cheese styles that you might want to try.
These communities foster a supportive environment that encourages growth and exploration, making your cheese-making journey even more enjoyable.
Final Words
So now you are equipped to get moving on this rewarding culinary journey.
Start with the right ingredients and tools, and be patient as you practice your skills.
Experiment with different types of cheese to discover your preferences, and don’t hesitate to learn from your experiences.
Your creativity and dedication will yield delicious results.
Embrace this art, and soon, you’ll be enjoying the fruits of your labor right from your own kitchen.