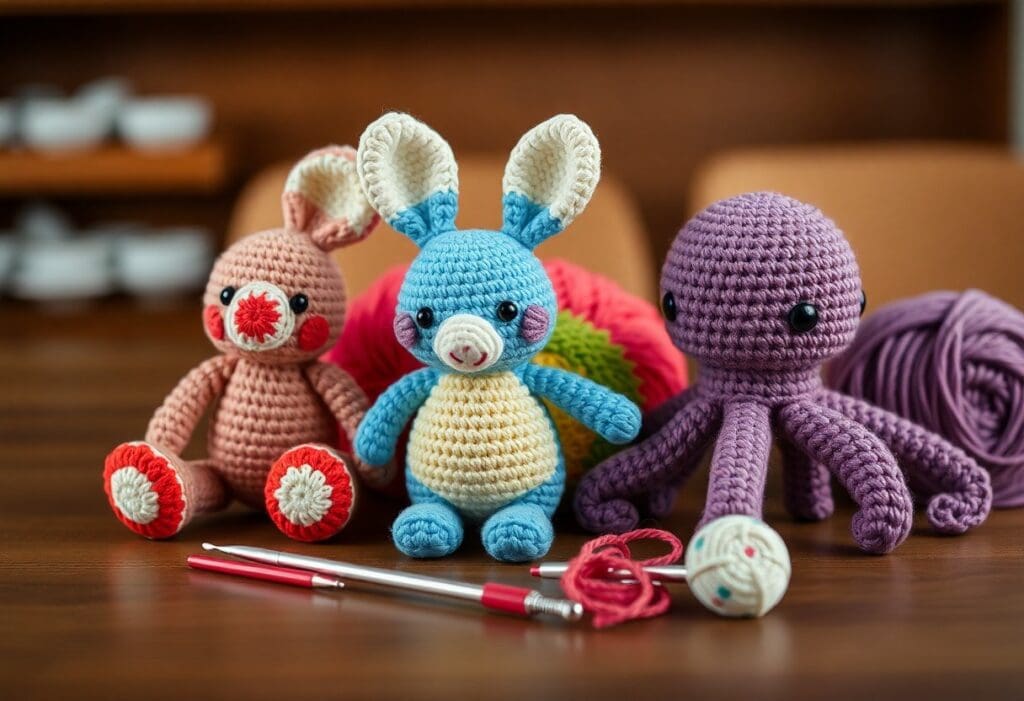
You’re about to enter a world where cuteness knows no bounds – the enchanting realm of amigurumi crochet!
What is Amigurumi, you ask?
The meaning of amigurumi is quite simple — it’s about crocheting three-dimensional, adorable yarn toys!
In this charming corner of crochet, you’ll discover a universe of adorable toys, each one more irresistible than the last.
As you commence on this creative journey, you’ll find that amigurumi crochet is not only a delightful hobby but also a wonderful way to express your imagination and bring joy to those around you.
Getting Started with Amigurumi
Your journey into the world of amigurumi begins here!
To create adorable crochet toys, you’ll need to familiarize yourself with the basics of amigurumi crochet.
Choosing the Best Yarn and Hook for Amigurumi
Hooked on the idea of creating cute amigurumi toys?
Start by selecting the perfect yarn and hook combination.
Look for yarns with good stitch definition and a hook that feels comfortable in your hand.
If you want to make it easy and efficient, you can pickup a full Amigurumi crocheting kit on Amazon for less than $50.
Understanding Basic Crochet Stitches
Amigurumi magic begins with mastering basic crochet stitches.
You’ll need to know how to work single crochet, half double crochet, and double crochet stitches to bring your toys to life.
Crochet stitches are the building blocks of amigurumi toys.
Practice these stitches until you feel confident and comfortable with them. If you want a reference book, this one illustrating 200 stitches should be useful for you.
Start with simple projects like a small toy or a granny square to get a feel for how the stitches work together.
How to Design Your Amigurumi Toy
Assuming you have a clear idea of what you want to create, the next step is to design your amigurumi toy.
You’ll need to decide on the shape, size, and features of your toy.
Take some time to sketch out your idea, considering the type of yarn and hook you’ll be using, as well as the level of complexity you’re comfortable with.
Factors to Consider for Proportion and Scale
You can scale up or down, and it will greatly affect the overall look of your amigurumi toy.
By sizing up a small design, you may end up with a bulky, awkward-looking toy. Alternatively, if you scale down a large design, you’ll very likely end up with something far too intricate to tackle.
Once you know the right proportions, you can ensure your toy looks balanced and adorable.
Here are some specifics to keep in mind when scoping out your first amigurumi crochet toy project:
- Consider the size of the head in relation to the body
- Think about the proportions of the limbs and tail
- Decide on the size of the features, such as eyes and nose
Tips for Creating Adorable Facial Expressions
Facial features can make or break the cuteness of your amigurumi toy.
After all, it’s the face that brings your toy to life. You want to create a face that’s both expressive and endearing.
- Use a variety of yarn colors to create subtle shading and dimensions
- Experiment with different eye shapes and sizes to find the perfect look
- Don’t be afraid to add a few subtle details, like eyelashes or a nose
The key to creating an adorable facial expression is to keep it simple yet expressive.
You want your toy to have a personality that shines through in its face.
Try using a small amount of yarn to create a subtle smile or a few strategically placed stitches to create a playful eyebrow.
It’s the little details that will bring your amigurumi toy to life.
- Pay attention to the shape and size of the mouth
- Use different yarn textures to add depth and interest
- Don’t overdo it – sometimes less is more when it comes to facial features
Mastering Amigurumi Crochet Shaping Techniques
If you want to create adorable amigurumi toys, you’ll have to focus on mastering shaping techniques.
How to Create Spheres and Cylinders
Cylindrical shapes are the foundation of many amigurumi designs. And for any toy needing round parts (like heads), you’ll need to be able to make good, well-proportioned spheres.
Both of these shapes challenging to make, so you’ll have to get in some practice time to perfect them. Plan to do so when first starting out. Later in the process, you’ll be happy you did.
Tips for Stuffing and Shaping Your Toy
Create a professional-looking finish by following these simple tips:
- Use the right amount of stuffing to achieve the desired firmness
- Use a tapestry needle to help guide the stuffing into small areas
- Keep a close eye on the shape of your toy as you stuff it to achieve a more even finish
The key to achieving a smooth, rounded shape is to stuff your toy evenly and consistently.
- Work in small sections, stuffing and shaping as you go
- Use your fingers to gently shape and mold the toy into place
The result will be a beautifully rounded and cuddly amigurumi toy that you’ll be proud to show off!
Adding Details and Embellishments
The details and embellishments you add to your amigurumi toy can make all the difference in bringing it to life.
How to Create Eyes, Ears, and Other Facial Features
You can use a variety of materials to create facial features, such as embroidery floss, felt, or even small pieces of yarn.
Tips for Using Fabric Paint and Markers
To put some of the finishing touches on your amigurumi crochet toys, you’ll need to acquire fabric paint and markers. You can get a quality set on Amazon for less than $20.
Once you’ve chosen your paint or markers, here are some tips to keep in mind:
- Always test your paint or markers on a scrap piece of fabric before applying it to your amigurumi toy
- Use a fine-tip brush or marker to create detailed designs
- The type of fabric you’re using will affect how the paint or markers absorb and dry
You’ll be able to create intricate designs and patterns using fabric paint and markers by layering colors and allowing each layer to dry before adding more details.
- Start with a light base color and build up to darker shades
- Use a hairdryer to speed up the drying process
- Take your time and work slowly to achieve a professional-looking finish
Troubleshooting Common Amigurumi Mistakes
Many amigurumi crochet enthusiasts have experienced the frustration of encountering mistakes in their work, only to have to ditch a project and start all over.
But don’t worry, with a little practice and patience, you can overcome these common errors and create adorable amigurumi toys with minimal frustration.
How to Fix Common Shaping Errors
To ensure your amigurumi toys turn out the right shape, pay attention to your stitch count and make sure you’re increasing or decreasing stitches at the right time.
If you notice your toy is becoming misshapen, try backtracking to the last round and re-working it.
Tips for Dealing with Yarn Tension Issues
Yarn tension issues can be frustrating, but there are a few things you can do to prevent them. Here are some tips:
- Make sure you’re holding the yarn at a consistent tension
- Use the correct hook size for your yarn
- Don’t pull the yarn too tightly, because it can cause puckering
If you want to avoid yarn tension issues, always try to be consistent and gentle when handling the yarn.
If you find that your stitches are too tight, try using a larger hook or loosening your grip on the yarn.
If your stitches are too loose, try using a smaller hook or pulling the yarn a bit tighter.
Taking Your Amigurumi to the Next Level
Once you’ve mastered the basics, you may want to add some complexity and personality to your creations. Let’s look at that next stage briefly before we finish up here.
How to Create Complex Shapes and Designs
If you want to master intricate amigurumi crochet designs, you’ll need to get good at visualizing and then breaking down complex shapes into smaller, manageable parts.
By doing so, you’ll be able to tackle even the most daunting projects with confidence.
Tips for Experimenting with Different Yarns and Fibers
You can create unique textures and visual interest by experimenting with different yarns and fibers.
Try combining smooth, glossy yarns with rough, matte ones, or blending soft pastels with bold brights. The possibilities are endless!
Here are some more ideas for you to consider:
- Mix and match yarn weights and textures to add depth and dimension to your designs
- Experiment with novelty yarns, like glitter or metallic threads, to add an extra touch of whims
- Consider using other materials for finishing touches, like felt for hair and googly eyes to keep it silly and fun
The right yarn choice can make or break the overall look and feel of your amigurumi, and other materials can add some pizzazz, so don’t be afraid to try new things
This is where the real fun begins. By pushing the boundaries of what’s possible with yarn, you’ll be able to create truly one-of-a-kind amigurumi pieces that showcase your unique style and creativity.
Try Your Own Hand at Amigurumi Crocheting!
Are you excited about trying this out yet? Amigurumi crochet can be a lot of fun, and you’ll end up with some unique and creative toys in the end!
If you’re like others who love this craft, you’ll soon discover the joy of bringing a character to life with yarn and hook.
Don’t be afraid to experiment and try new things – it’s all part of the fun!
With practice, patience, and a willingness to learn, you’ll be making amigurumi like a pro in no time. Happy crocheting!