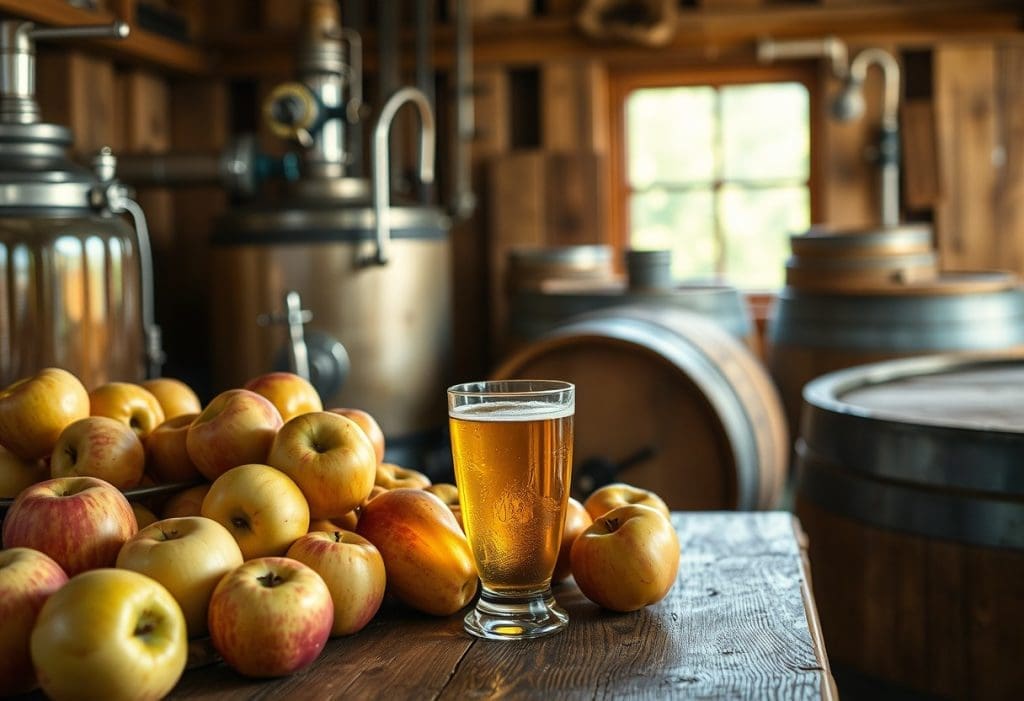
There’s something incredibly satisfying about crafting your own hard cider right in your kitchen. Have you ever considered how to make hard cider in your own home?
This post will walk you through the simple steps of turning fresh apples into a delicious homemade beverage that you can enjoy with friends or savor on cozy evenings.
With minimal ingredients and plenty of options to suit your taste, you’ll find that making hard cider is an enjoyable and rewarding process.
Let’s get started on your journey to becoming a hard cider maker!
Choosing Your Ingredients
The success of your homemade hard cider starts with selecting the right ingredients. Opt for fresh, high-quality apples and flavorings, which will play a significant role in the overall taste of your final product.
Consider your preferences for sweetness, tartness, and acidity, as well as any additional flavor notes you’d like to incorporate.
Before you know it, you’ll be creating delicious ciders that reflect your personal style.
Selecting Apples
The type of apples you choose will greatly influence your cider’s flavor. Look for a mix of sweet, tart, and balanced apple varieties to create a well-rounded profile that suits your taste.
You can select more popular types like sweet Fuji or Gala to get a smooth flavor.
But you can also go for more tart varieties like Granny Smith or Brauburn to get a more zesty, crispy flavor profile.
Experiment with different combinations to find the perfect balance for your unique blend.
Additional Flavorings
A great bottle of cider goes beyond the apples themselves. You can really elevate the flavors with additions like herbs, spices, and other fruits.
These unique flavorings allow you to craft a cider that stands out from the crowd, enhancing the base apple flavor with your creative touch.
Try adding cinnamon for warmth, ginger for spice, or even seasonal fruits like berries for a refreshing twist.
In addition, consider experimenting with flavors like vanilla for a creamy touch, or maybe even a hint of citrus to brighten up your cider.
And if you’re feeling more adventurous, herbs such as rosemary or thyme can add an earthy depth to tickle the drinkers’ palates.
There are endless possibilities to personalize your hard cider, so don’t hesitate to get creative and make a beverage that’s truly your own!
Equipment You’ll Need
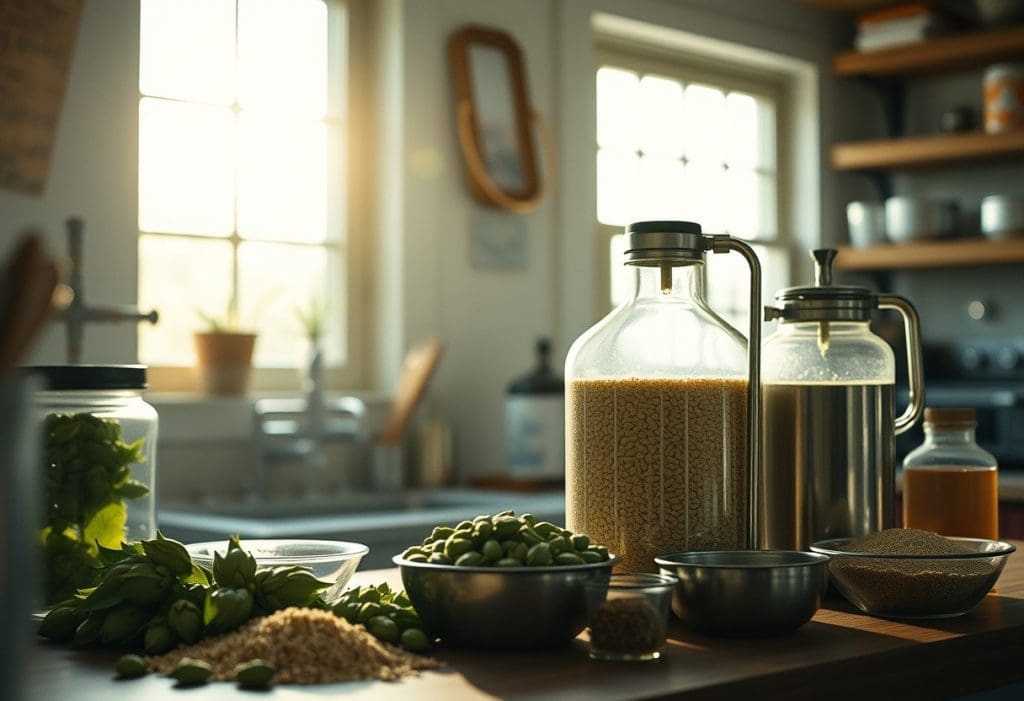
Before you get started, you’ll need to gather some equipment to ensure your cider-making process goes smoothly.
From mashers to fermentation vessels, the right tools will help you set up your cider-making station like a pro!
Be sure to acquire the highest quality equipment you can afford, because with hard cider, the tools you use matter a lot in the end product.
Essential Tools
The primary tools for cider making include a fermenter, airlock, hydrometer, and bottles.
These items will help you gently ferment and store your hard cider until it’s ready to enjoy.
The right equipment not only simplifies the process but also ensures your cider has the best chance to shine!
Optional Gadgets
Beside the basics, there are several optional gadgets that you might find helpful while making cider.
These can enhance your experience and improve your cider’s flavor and clarity.
Consider items such as a bottle capper, fruit press, or even a pH meter to take your cider-making to the next level!
Tools like a fruit press can save you time and effort in extracting juice from your apples, while a bottle capper will streamline your bottling process.
With these items in your toolkit, your cider-making adventures will be more efficient and fun!
The Cider-Making Process
By understanding every detail in the cider-making process, you set yourself up for delightful results you’ll want to share with friends and family.
From selecting the right apples to monitoring fermentation, each stage plays an important role in the final taste.
Preparation
For the most flavorful hard ciders, your success starts at the very beginning: The preparation stage.
Start by washing your apples thoroughly to remove any contaminants. Next, crush the apples, either using a traditional apple press or a more modern appliance, and extract the juice.
This juice is what will ferment into cider. Of course, you should choose only the best apples, because they are the most important ingredient in the entire process.
Fermentation
Fermentation is where the magic happens. As you add yeast to your apple juice, keep an eye on yeast activity and maintain appropriate temperature levels, usually between 65-75°F.
This can take anywhere from one-to-three weeks, depending on the desired flavor profile. You’ll need to be attentive to achieve the best results from your brew.
Be sure you understand what is happening when you observe the bubbles. These are super important to this stage, because they’re signs of active fermentation.
I highly recommend investing in an airlock to help with the release of carbon dioxide while keeping contaminants away.
As yeast converts sugars into alcohol, the aroma and character of your brew will continue to evolve. These factors will hint at the final taste of your cider, so don’t hesitate to taste along the way for quality control.
If you pay enough attention and allow for enough time, you’ll nail it and make a cider you can be proud of.
Once the bubbling slows, you’ll know it’s nearly time to move on to bottling.
Patience is key; the longer you wait—within reason—the better your cider is likely to taste.
Bottling Your Cider
Okay, once you’re satisfied that the cider is fermented and ready to bottle, it’s game on time!
Make sure you have your bottles and caps ready so that you can capture all the delicious flavors you’ve created.
The bottling process will differ based on the equipment you decide to have on hand. Again, I highly recommend having a bottle capper handy for the most efficient approach.
Once bottled, your cider is almost ready to enjoy, but the key to great taste lies in how you clean and carbonate your bottles properly.
Cleaning and Preparing Bottles
When bottling your cider, never skimp on sanitation.
To avoid contamination and spoilage of your hard cider, thoroughly clean your bottles using a warm, soapy water solution, and rinse them well.
You can also soak your bottles in a sanitizing solution for added protection.
Make sure to air-dry your bottles completely before filling them. Any residual moisture can lead to unwanted bacteria.
Carbonation Methods
To achieve the perfect fizz, you have different options for carbonating your hard cider.
You can choose natural fermentation in bottles, which involves adding a small amount of sugar before sealing them. Or you can go for forced carbonation using a CO2 tank.
Depending on your desired cider style, each method brings its own charm. If you can afford the CO2 tank, you’ll never regret having it on hand to keep the process efficient.
To further explore carbonation methods:
- Natural fermentation allows your cider to develop a distinct taste as it conditions in the bottle
- Forced carbonation provides more predictable results and quick access to your fizzy drink
Whichever method you choose, it’s important to monitor the process carefully if you want to ensure the tastiest end product.
Aging and Tasting
Keep in mind that the aging process can significantly elevate the flavor and complexity of your hard cider.
Generally, you can achieve a smoother and more refined taste profile by aging your cider for a longer time.
Aging Your Cider
To truly enhance the flavor of your cider, consider letting it age for several months, possibly even up to a year. You may find that a longer aging process could yield surprising depth in flavors and aromas.
This period allows the various compounds within the cider to meld, resulting in a more rich and harmonious profile.
Ideal storage conditions include a stable, cool environment away from light. Store your cider in a cool, dark, and stable environment, ideally around 55°F (13°C), and in glass or stainless steel to avoid any unwanted reactions.
Tasting Techniques
Between sipping and savoring, you’ll find that tasting your homemade cider is an art form you can definitely master.
Focus on key flavor notes such as sweetness, acidity, and tannins. Take your time appreciating the blend of aromas and textures.
Once you understand how these elements work together, you’ll develop a stronger appreciation for your own craft.
In fact, you can enhance your tasting experience by using a tasting glass that showcases the aroma and flavors better.
Swirl the cider gently in your glass, which helps to release its bouquet. Also, take a moment to inhale its scent to prepare your palate for what’s to come.
Take small sips, allowing the cider to coat your tongue. This is when you’ll discover the intricate layers of fruitiness, spice, and oak that your hard work has produced.
Troubleshooting Common Issues
All cider makers encounter challenges during the fermentation process.
It’s important to stay calm and address any issues head-on, whether you’re dealing with unexpected off-flavors or sluggish fermentation.
By identifying the causes and applying preventative measures, you can navigate through these hurdles and ensure a smoother cider-making experience.
Fermentation Failures
The best way for you to avoid fermentation failures is by monitoring your cider closely.
Off-flavors, such as vinegar or mustiness, may indicate contamination or poor quality apples.
Slow fermentation could stem from low temperatures or insufficient yeast.
To prevent these issues, maintain a clean environment and keep your fermentation area within the ideal temperature range for your chosen yeast strain.
Clarity Problems
Does your cider have a cloudy appearance? You may be dealing with a common issue faced by many home brewers.
Cloudiness can result from suspended particles, yeast residue, or pectin in the juice.
To clarify your cider, consider using a fining agent or cold crashing, which encourages the particulates to settle at the bottom.
This way, you can achieve the bright, clear cider that you desire.
Also, It may take some time for you to clarify your cider, but I caution you to exhibit patience.
Avoid hastily bottling cloudy cider. It can lead to sediment and unwanted textures in your final product.
Experiment with natural methods, like letting your cider sit undisturbed for a few weeks or using a simple filtration system to enhance clarity.
With these techniques, you’ll be enjoying that stunning, clear cider you’ve been aiming for in no time.
In Summary: How to Make Hard Cider at Home
So there you have it, a crash course in brewing hard cider in the comforts of your very own home!
Embrace the process, enjoy experimenting with different flavors, and don’t hesitate to share your creations with friends and family.
With patience and creativity, your hard cider will soon be a rewarding reflection of your efforts. Cheers to your new adventure in home brewing!