Tabletop gaming is not just about strategy and fun. It’s also about immersing yourself in a vibrant world brought to life through beautifully painted miniatures.
If you’re looking to enhance your gaming experience, you can open up a whole new level of creativity and personalization by learning how to paint miniatures .
This guide will walk you through the basics of miniature painting. I will overview the tools you’ll need, techniques to master, and tips to ensure your models stand out on the battlefield.
Get ready to unleash your artistic potential and elevate your gaming sessions!
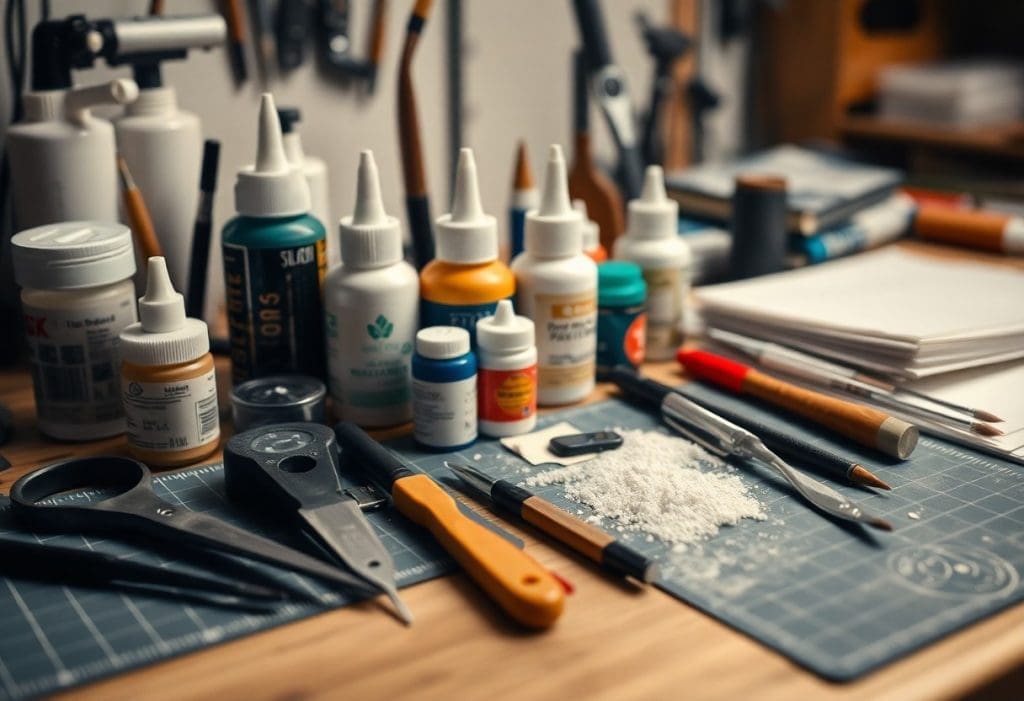
The Essential Toolbox: Gathering Your Supplies
Brushes of Every Size: Choosing the Right Tools
Whether or not you have the right brushes will greatly impact your painting experience and the final result.
You’ll want a variety, including fine detail brushes for intricate designs and larger flat brushes for base coating.
Sizes ranging from 10/0 for precision to size 2 or 4 for broader strokes can cover all your bases.
Natural hair brushes, like sable, offer smooth application, while synthetic options are durable and easier to clean.
In the end, aim to strike a balance between quality and price.
Paints That Pop: Exploring Miniature-Specific Options
Miniature-specific paints differ from regular acrylics, offering better pigmentation and finer texture ideal for small surfaces.
Brands like Citadel, Vallejo, and Army Painter produce paints designed specifically for miniature painting. You’ll find that they all offer a range of colors you can use for precise layering and blending.
These paints also often have a matte finish, reducing glare and enhancing detail visibility.
By using these specialized paints, you’ll ensure that every brushstroke brings out the vibrancy in your models.
The formulation of miniature paints is key to their performance.
They have a thinner consistency than standard paints, which allows for easier application and smooth coverage, especially on tiny details.
With a variety of finishes available, including matte, glossy, and satin, you can achieve the precise look you desire.
By using paints designed for miniatures, you can prevent problems like clumping or pooling, which can ruin your work.
Explore color sets that offer complementary hues to aid in shading and highlighting, making your figures truly stand out.
Bases and Primers: Setting the Foundation for Your Canvas
You’ll need to be sure you start with the right base and primer. This is very important for achieving the best results in miniature painting.
Primers provide a surface for paint adhesion, ensuring that your colors stay vibrant over time.
You can use spray or brush-on primers. Pick the one that best matches your desired finish.
Black, white, or gray primers can affect the overall appearance of your painted miniatures, so select according to your intended color palette. Or buy a bundle of all three colors of primer to be safe.
A good primer not only enhances paint adhesion but also can serve to highlight finer details on your miniatures.
A black primer can deepen shadows, while a white primer makes colors appear brighter and more vibrant.
A base coat of primer protects your miniatures from wear and tear and prepares them for the colorful layers that will follow.
Invest in high-quality bases. This will provide a sturdy foundation, ultimately elevating your painting results to a professional standard.
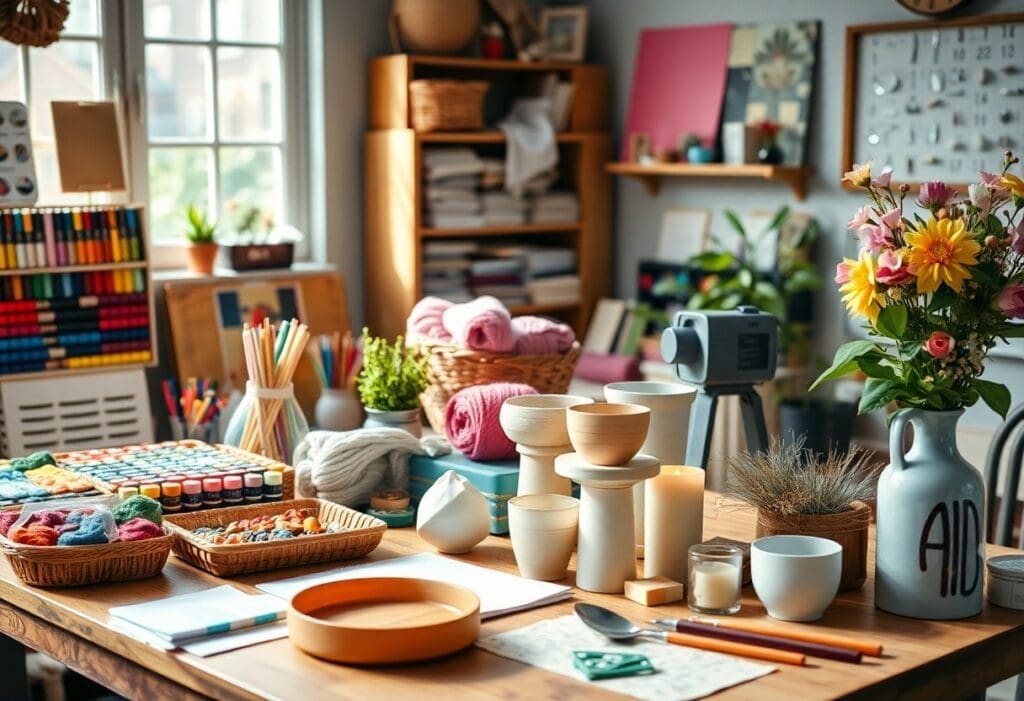
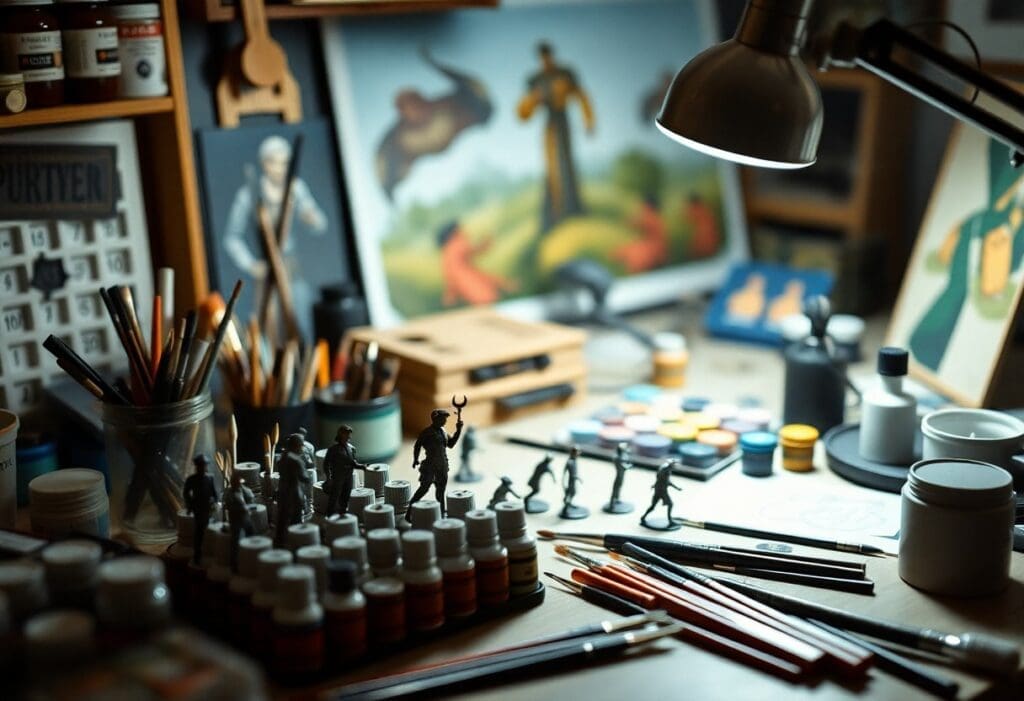
The Importance of a Painting Station: Creating Your Workspace
Aim to optimize your painting environment. Once you get it right, you’ll enjoy boosts to both your creativity and focus.
Your workstation should have adequate lighting to clearly see details, with options for adjustable angles to minimize shadows.
A comfortable chair and table height will reduce fatigue during long painting sessions.
Organize your supplies (paints, brushes, and tools) within arm’s reach to make your workflow more efficient.
A well-arranged painting station can significantly affect your productivity and enjoyment.
Consider using:
- A palette for mixing colors
- A turntable for easy access to different angles of your miniature
- Containers to keep your brushes and paints organized
By adding personal touches, like inspirational miniatures or reference images, you can create an atmosphere that keeps you motivated and engaged.
The right workspace transforms painting from chore to pleasurable activity, helping you grow as a miniature artist.
Preparing Your Miniature: From Raw Model to Ready-to-Paint
Cleaning Techniques: Removing Mold Lines and Flash
Start by closely inspecting your miniature for any mold lines or flash. These are remnants from the casting process.
Use a sharp hobby knife or fine files to carefully scrape away these imperfections. You’ll want to ensure you’re working with a smooth surface for painting.
This step not only enhances the overall appearance of your mini but also aids in the adherence of paint, giving you a more professional finish.
Sealing the Deal: Priming for Success
Priming your miniature is a critical step that prepares the surface for paint adhesion.
A good primer can come in spray or brush-on form and should be selected based on your miniature’s material. For example, acrylic primers work well on plastic and resin.
Apply a thin, even coat of primer. This will not only improve paint adherence but also provide a uniform base color.
With this in place, you’ll be positioned to enhance the vibrancy of your subsequent layers.
Before you begin priming, ensure that your miniature is clean and free of any oils or debris.
Hold the model by the base or using a suitable holder to avoid touching the primed areas.
Provide adequate ventilation and consider the type of primer being used, as some products emit strong fumes.
Allow adequate drying time between coats if applying multiple layers. You’ll want to focus on getting complete coverage without obscuring fine details.
Assembly Essentials: Tips for Multi-Part Models
Assembling multi-part models can present unique challenges, especially with intricate designs.
Use a strong adhesive suited for your model’s material to ensure durability. Also, consider pinning joints for added strength.
Prioritize assembling larger sections first, as this can simplify the painting process later on.
- Let the glue cure thoroughly before handling.
- Test the fit of parts before applying glue to prevent misalignments.
- Use clamps or weights to hold parts in place until set.
Some models come with intricate parts that require careful alignment.
To make assembly more manageable, consider working on a flat, stable surface. This will enable you to clearly see how parts fit together.
After you’ve ensured everything lines up correctly, take your time applying adhesive to avoid excess that could mar the details later on.
- Take breaks to prevent frustration and assess your work visually.
- Watch tutorials online for specific models for help with tricky joins.
- Keep a small brush handy to clean up any excess glue quickly.
Color Theory for Miniature Artists: A Beginner’s Guide
The Color Wheel Demystified: Understanding Hues and Shades
The color wheel serves as your foundational tool for grasping the relationship between different colors.
Comprising primary colors (red, blue, and yellow) and their combinations—secondary colors (green, orange, and purple)—the wheel illustrates how you can mix hues to create thousands of shades.
Once you understand the basics of warms versus cools, you’ll make better choices in miniature painting, enhancing the depth and mood of your models.
Harmonious Palettes: Choosing Colors That Work Together
With a harmonious color palette, you can greatly enhance the visual appeal of your miniatures.
Choose colors that complement each other, like analogous or triadic combinations. This is how you can establish a cohesive look that draws attention without overwhelming the viewer.
A tool like color theory can provide a roadmap for your artistic choices, making it easier to achieve stunning effects.
Start by selecting one dominant color for your miniature. Then, choose two to three accent colors that are either adjacent to it on the color wheel (analogous) or evenly spaced (triadic).
For instance, if you choose blue as your dominant hue, you could pair it with green and violet for a serene fantasy vibe.
Experiment with this method, and you will find that certain combinations tend to evoke specific emotions, enhancing the narrative of your game pieces.
Practical Application: Mixing and Blending Paints
Mixing paints to achieve the desired color and shade requires practice and a bit of experimentation.
Start by working on your palette, combining equal parts of your chosen colors to create transitional shades.
Adjust the ratios based on how you want your painted surface to appear in relation to light and shadow.
Focus on achieving a smooth blend that transitions well.
When blending colors directly on your miniature, use techniques like wet blending to create seamless transitions between hues.
This can involve applying a base color, followed by gradually merging a highlight color while both paints are still wet.
Consider using a dry brush technique to add texture and depth, enhancing areas of shadow and light.
With practice, mixing and blending will become second nature, allowing you to focus on bringing your miniatures to life.
Essential Techniques for Precision and Detail
Layering and Glazing: Adding Depth to Your Miniatures
Layering and glazing allow you to build up color gradually, creating rich depths and intricate effects on your miniatures.
Begin with a base coat to establish your primary colors. Next, apply successive layers of lighter or darker shades to achieve a nuanced look.
Glazing involves mixing a small amount of paint with a medium, enabling you to achieve transparency and subtle transitions.
This technique is particularly useful for skin tones and fabrics. It can make your miniatures appear more lifelike and dynamic.
Dry Brushing: Highlighting with a Feather-Light Touch
Dry brushing is a technique that produces eye-catching highlights without overwhelming detail.
By using a brush that’s only slightly damp with paint, you can catch the raised details of your miniatures, giving them a distinct, textured appearance.
Choose a lighter color than your base coat, and gently sweep the brush across the surface.
This way, you will allow the paint to settle in the crevices. It should emphasize contours without obscuring the underlying layers.
To effectively dry brush, choose a stiff-bristled brush and remove most of the paint before applying it to your miniatures.
The key is to lightly skim the surface, focusing on edges and raised areas.
For example, if painting armor, ensure the silver or lighter shade glances off the edges of plates and rivets to create a stunning contrast.
It can take a bit of practice to master this technique, but the striking highlights it produces are well worth the effort. If you get it right, your miniatures will definitely stand out on the battlefield.
Washing: The Secret to Depth and Shadow
Washing adds a layer of shadow that enhances the three-dimensionality of your miniatures.
A wash is a thinned-down paint, usually a darker shade, that flows into the recesses and crevices, giving an illusion of depth.
You can create washes using commercial products or by thinning paint with water or a medium.
Apply a wash over your painted base layers to tie the colors together, providing a finished look that adds drama and realism.
Your approach to washing can vary depending on the desired effect.
For example, maybe you want to highlight details without switching colors.
Experiment with a black or dark brown wash, which can dramatically enhance texture by settling into grooves and indentations.
For a subtler effect, try using a colored wash that complements your base tones—this can create a cohesive effect while introducing shadows.
Don’t be afraid to experiment. With practice, you’ll develop a feel for how much wash to apply and where.
Advanced Techniques to Elevate Your Game
As you refine your miniature painting skills, I encourage you to explore advanced techniques.
These methods can significantly enhance the depth and realism of your miniatures.
Techniques like Non-Metallic Metal (NMM), Object Source Lighting (OSL), freehand painting, and weathering effects will allow you to make your figures truly stand out.
Below is a breakdown of some techniques you can use to elevate your painting game:
| Technique | Description |
| NMM vs. OSL | Explore the differences between Non-Metallic Metal and Object Source Lighting, two popular techniques for lighting and texture. |
| Freehand Painting | Add unique designs and intricate details to your miniatures for a personalized touch. |
| Weathering Effects | Apply weathering techniques to give your miniatures a narrative and lifelike imperfections. |
NMM vs. OSL: Non-Metallic Metal and Object Source Lighting
NMM and OSL are two distinct techniques that focus on how light interacts with surfaces.
NMM creates the illusion of metallic surfaces without using metallic paints. Instead, it relies on smooth transitions and highlights to mimic the reflection of light.
On the other hand, OSL incorporates lighting effects from a specific source, such as magical energy or a glowing object, affecting nearby surfaces with corresponding color transitions.
Use these techniques together to make your miniatures appear more dynamic and engaging.
Freehand Painting: Adding Unique Designs and Details
Freehand painting allows you to express your creativity by incorporating personal designs and details onto your miniatures.
You can paint intricate patterns, symbols, or even small scenes on cloaks and armor, enhancing the uniqueness of your miniatures.
This technique requires a steady hand and patience, but the results are often worth the effort, setting your figures apart from the standard paint jobs.
By adding freehand designs, you can take your painting to a whole new level.
Start with simple shapes and symbols to build confidence. Next, you can gradually move to complex designs, like banners or intricate patterns inspired by your favorite lore.
By using fine brushes and taking your time, you’ll be able to further develop your skills.
Don’t hesitate to practice on other surfaces before applying to your miniatures directly.
Weathering Effects: Making Your Miniatures Tell a Story
Weathering effects can bring your miniatures to life. It adds an element of storytelling that showcases their journey through battles, adventures, and environments.
Techniques include rust streaks, chipped paint, or grime accumulation, simulating wear and tear.
You can use weathering to reflect the narrative of your character, making them more relatable and engaging for gameplay.
Your miniatures can evoke emotions and narratives through effective weathering.
Use washes and pigments to create realistic weathered surfaces. Also consider the backstory of each character to inform your approach.
For instance, a battle-worn warrior may feature scratches and dirt, while a mystical elf might have a subtler hue of aging.
Once you learn to balance the level of weathering, your miniatures will be more captivating and detailed without appearing overdone.
Common Pitfalls: Avoiding the Traps of Beginner Painters
Overworking vs. Underworking: Finding the Right Balance
Many novice painters swing between two extremes: overworking their miniatures by applying too many layers or underworking them, leaving details unrefined.
You’ll need to strike a balance in order to achieve a polished look.
Instead of obsessing over every tiny detail, focus on the overall composition and effects you want.
And of course, always ensure that foundational layers dry properly before applying further touches.
Learning to gauge when a piece is ‘done’ will drastically improve your confidence and results.
The Perils of Fatigue: Recognizing When to Step Back
Fatigue can drastically affect your precision and creativity, leading to poor outcomes.
Watch for signs that you’re getting fatigued, like a shaky hand, lack of concentration, and growing frustration.
Breaks are not only beneficial but also necessary to maintain the quality of your work.
Recharging your creativity can involve stepping away for several hours or even a day. However long you pause, you should have a fresh perspective when you dive back in.
When fatigue sets in, small mistakes are more likely to occur, resulting in frustration and wasted effort.
Your ability to see the larger picture becomes clouded, making it harder to know what needs improvement.
Instead of plowing through, take that break. By doing so, you will give your mind and eyes a chance to reset.
You might find that ideas flow more freely after taking the time to recharge. Ultimately, you’ll find that this can lead to better decision-making and a happier painting experience.
Fear of Failing: Cultivating a Growth Mindset
The fear of making mistakes can paralyze you as a painter.
Try shifting your mindset to see failures as growth opportunities.
This can help you better embrace the learning process.
Each time you pick up a brush, recall that even the most skilled painters stumbled through countless practice sessions, continuously refining their art.
Instead of fretting over imperfections, celebrate your progress and recognize that skills develop through steady practice and experimentation.
Embracing a growth mindset invites exploration into new techniques without the weight of perfection looming overhead.
Allow yourself to view mishaps as stepping stones rather than setbacks. Always keep in mind that every error teaches you something.
The more you experiment, the more you will discover your unique style and learn to navigate challenges.
Regularly remind yourself that each painted miniature contributes to your overall journey, building both your skill and confidence over time.
Showcasing Your Work: The Final Touches
Basing Techniques: Grounding Your Miniatures
Basing involves creating a diorama-style base for your miniatures, enhancing their visual appeal and narrative.
Materials you’ll need include textured paints, sand, flock, and specialty grass.
Start by adhering your miniature to a base, then layer materials to mimic natural environments like grasslands or battlefields.
This grounding element not only adds depth but also accentuates the artistry you’ve put into painting, making your miniatures pop on the tabletop.
Display Options: Framing Your Art for Maximum Impact
If you frame your miniatures effectively, you can elevate their presentation dramatically.
Consider using display cases, shadow boxes, or even custom dioramas to showcase your work.
Clear acrylic cases can protect your pieces while allowing them to be viewed from various angles, while dioramas offer an immersive context for your scenes.
Additionally, LED lights can draw attention to specific elements of your work, creating a captivating focal point.
Choose frames or display options that complement your miniatures to create a cohesive look.
If you’ve painted a medieval knight, for example, consider a rustic wooden display case to enhance the theme.
Remember the lighting as well. Soft lighting can make your miniatures glow, while harsh light might highlight imperfections.
Test out mixing textures in your display, such as a dark base with a bright miniature. This is a cool way to further enhance the overall aesthetic.
Photography Tips: Capturing Your Work Like a Pro
To showcase your miniatures effectively, capturing them through quality photography can make a significant difference.
Use a tripod for stability and natural light to illuminate your miniatures without harsh shadows.
Adjust the aperture to create a clear focus on the miniature while slightly blurring the background, giving it prominence in the frame.
Avoid busy backgrounds that can detract from your work; a plain surface will keep the attention on your craftsmanship.
- Use a macro lens for close-up shots to showcase details
- Experiment with different angles to find compositions that highlight your painting skills
- After capturing your photos, lightly edit them to adjust brightness and contrast without over-editing
To capture stunning images of your miniatures, consider post-processing techniques as well.
Software like Photoshop or Lightroom can enhance colors and details, bringing your miniatures to life on-screen.
Use cropping to eliminate distractions, and always keep the focus on your artwork.
Wrapping up with a final check that your background remains uncluttered ensures that your miniatures are the star of the show.
- Find a clean background, such as a white or neutral-colored surface.
- Take multiple shots to choose the best one later.
- After finalizing your pictures, share them on social media or miniature painting communities to connect with fellow artists.
Community Engagement: Learning Beyond the Brush
Online Resources and Tutorials: Learning from the Masters
Wandering through the vast landscape of online resources can lead you to a wealth of knowledge.
Websites like YouTube and platforms like Instagram and Twitch are filled with tutorials and live streams by seasoned miniature painters.
Channels focusing on specific techniques such as shading, dry brushing, and making custom bases offer step-by-step guidance that can elevate your work in no time.
Don’t hesitate to follow influential painters and examine their artistic processes.
Join Local Groups: Find Your Tribe
Connecting with local groups can significantly enhance your painting experience.
These communities often hold regular meetups and workshops where you can learn directly from others and share your passion.
By engaging with fellow painters in face-to-face settings, you will be able to exchange tips and techniques while fostering friendships.
Local groups not only provide valuable insights but also create a supportive environment for your growth.
Whether joining a gaming club or attending a painting workshop in your area, you’ll find fellow enthusiasts eager to share their expertise.
This exchange can open doors to collaborative projects, critiques, and the inspiration that comes from being surrounded by creativity.
Keep an eye on social media platforms for announcements of group activities or ask at local game shops for gatherings near you.
Participate in Competitions: Test Your Skills
Entering competitions can be an exhilarating way to challenge yourself as a painter.
Many local events and online contests welcome everyone from beginners to advanced artists.
These competitions not only push you to hone your skills but also provide invaluable feedback from judges and fellow participants.
Engaging in competitions can give you a chance to step outside your comfort zone, experimenting with new techniques and styles.
You might be surprised to find that the pressure of a deadline can actually spark your creativity.
Winning can offer recognition and motivation, while losing can be equally rewarding.
It’s all part of the learning process.
Keep an eye out for themed contests, as they’re often tailored to special events or releases.
This makes them exciting opportunities to showcase your work in line with the broader community.
Conclusion
So now you have a clear pathway to transform your miniatures into captivating works of art.
By selecting the right tools, understanding color theory, and practicing techniques, you can elevate your gaming experience.
Take your time, embrace the learning process, and don’t hesitate to experiment with different styles.
With patience and dedication, you’ll develop your skills and create pieces that not only enhance gameplay but also showcase your unique artistic flair.
Dive in and enjoy the rewarding world of miniature painting!